
While shopping for hair products, you’ve probably noticed labels marketed towards “dry hair”, “curly hair”, “fine hair”, etc. What do these labels mean, and how do you know what category your hair type falls into?
Your hair type is determined by a number of genetic factors. No hair types are “bad”, they just require different cuts, styling techniques, and products to look their best. It’s important to know your hair type in order to select the right cut, style, and products for your hair. A lot of times, our hair problems and bad hair days are simply caused by using the wrong products for our hair types. End your bad hair days for good by determining your hair type with the steps below!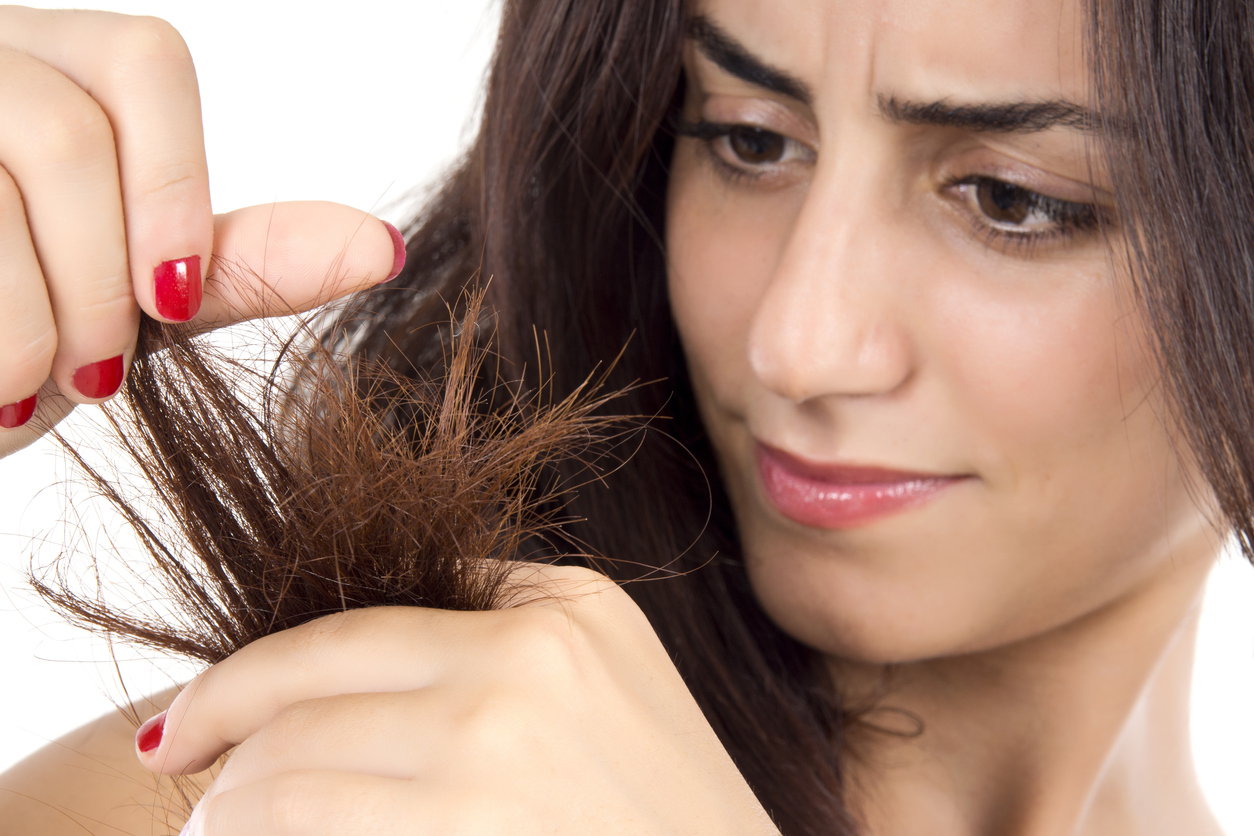
Step 1: Determining Diameter

Diameter refers to the width of your individual strands, not how many strands you have on your head. To find out the diameter of your hair, take one strand of your hair and lay it on a table.
Fine hair – Hair can barely be seen or felt. Those with fine hair should avoid heavy conditioners and products that can weigh hair down.
Coarse hair – Hair looks thick and/or textured. Coarse hair is prone to dryness and frizziness, so invest in a moisturizing hair mask.
Medium hair – Somewhere in between fine and coarse hair.You can also test the diameter of your hair by comparing a strand to a piece of simple sewing thread. If your hair is thinner than the thread, you have fine hair. If your hair is about the same thickness is as the thread, you have medium hair. If your hair is thicker than the thread, you have coarse hair.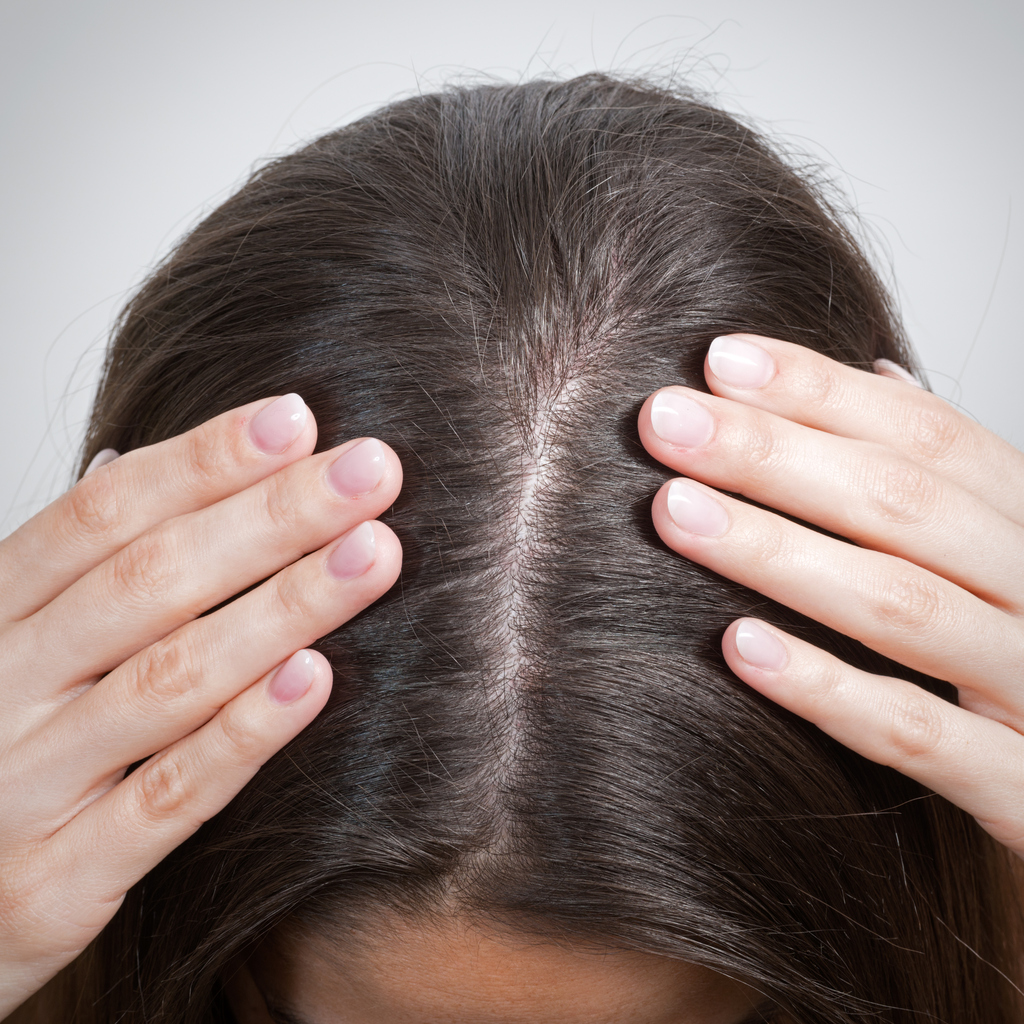
Step 2: Finding Density

Density refers to the number of individual hairs on your head. To determine your hair density, take a section of hair from the front of your hair and pull it to the side.
Thin density hair – You can easily see your scalp underneath or through the hair. If your scalp is plainly visible through your hair, not to worry! You can use Toppik Hair Building Fibers to instantly make your hair look thicker and disguise scalp show-through.
Thick density hair – you can barely see your scalp, or can’t see your scalp at all Medium density hair – somewhere in between thin and thick hair. You can see some scalp, but not a lot.
Keep in mind that diameter and density aren’t necessarily related. You could have fine hair with thick density, or coarse hair with thin density, or any combination in between.
Step 3: Discovering Porosity

Porosity is the ability of your hair to absorb moisture or product. To determine your hair’s porosity, place a strand of your hair in a cup of water.
High porosity – Your hair will absorb water and sink. Your hair has a porous cuticle, which could be caused by chemical or heat damage. Avoid heat styling and be sure to apply moisturizing products that will protect your hair from further damage.
Low porosity – Your hair will float on top of the water. This means your cuticle lays flat, making it difficult for moisture and products to penetrate the hair shaft. You may experience a lot of product buildup. To avoid this, apply products to damp hair and be careful to evenly distribute with your fingertips of a wide tooth comb.
Normal porosity – Hair floats in the middle of the water.
Step 4: Identifying Shape

Shape is as simple as it sounds and refers to the amount of bend or curl in your hair.
Straight Hair– No curl or bend in hair. This type of hair is usually shiny and impossible to curl. This is also usually the oiliest hair type because oils from the scalp can easily travel down the shaft.
Wavy Hair – Some bend, but not curls. Wavy hair is typically more prone to frizz because when it’s brushed out or over-styled it usually develops more split ends and dryness.
Curly Hair – Hair has S-shaped curls and is curly, even when unstyled. This type of hair is prone to damage.
Coily Hair – Hair is tightly coiled with Z-shaped curls. This is the most dry of the hair types, and needs extra moisturizing to prevent breakage.
While everyone’s hair is different, as a general rule, those with curlier hair will need to be more careful about using hot tools as your hair is more prone to damage. Straighter hair is more resilient, but tends to be more oily.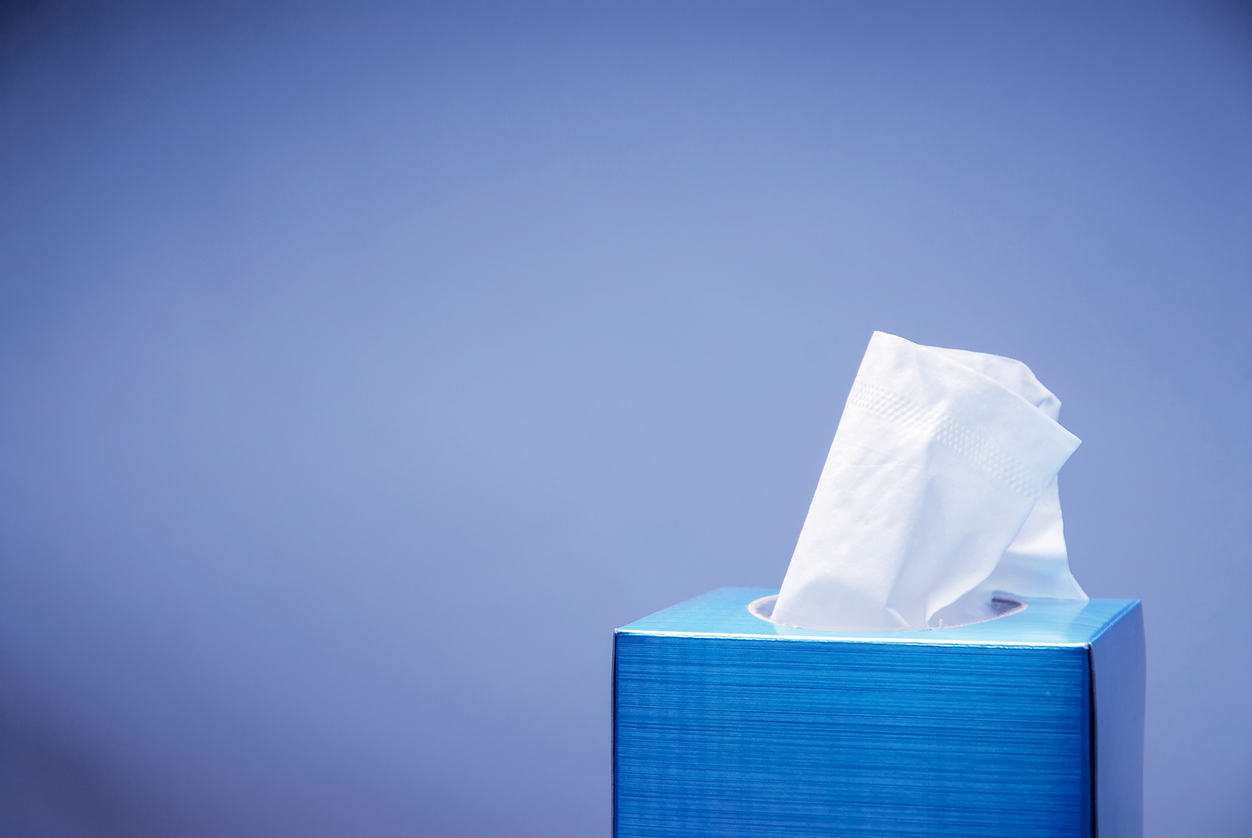
Step 5: Establishing Oiliness

Wash your hair before bed and allow to air dry. In the morning, press a tissue against the roots at the crown of your head and check for an oily residue. Also check behind your ears, as it’s possible to have oily hair in some places on your head and not others.
Oily hair – There is oily residue on the tissue. If you have oily hair and need to wash your hair every day, be sure to use a gentle shampoo which won’t strip your hair.
Medium hair – There is a trace of oil on the tissue, but not a lot.
Dry hair – There is no oily residue on the tissue at all. If you have dry hair, keeping your ends moisturized will be critical to prevent split ends.
Combination hair – there is oily residue from certain parts of your hair, but not others.
Oiliness determines how often you’ll need to wash your hair. Although products like dry shampoo can refresh hair between washes, as a general rule, those with oily hair will need to wash their hair more often.
Putting it all Together

Most brands will market their products towards certain hair types. Once you determine your hair type, keep your eyes peeled for products that will work for you. You can also share your hair type with your hairdresser and ask for styling and product recommendations. There’s also a whole community of women interested in hair online who are happy to share their styling tips.
When it comes to learning about your hair type, the sky is the limit!
1 comment
good advice